
This time, I got an order from a guy in East Java, this is his first quad and he has tight budget, IDR 2.800.000 ($180), which covers:
- Frame
- FC-ESC Stack
- 4 Motors
- VTX
- FPV Camera
- Receiver
- Propeller
- 1 Battery
Okay then, lets begin..


Since this is very tight budget, some of the part is using used parts and the other is new, like FC Stacks, Propelers)
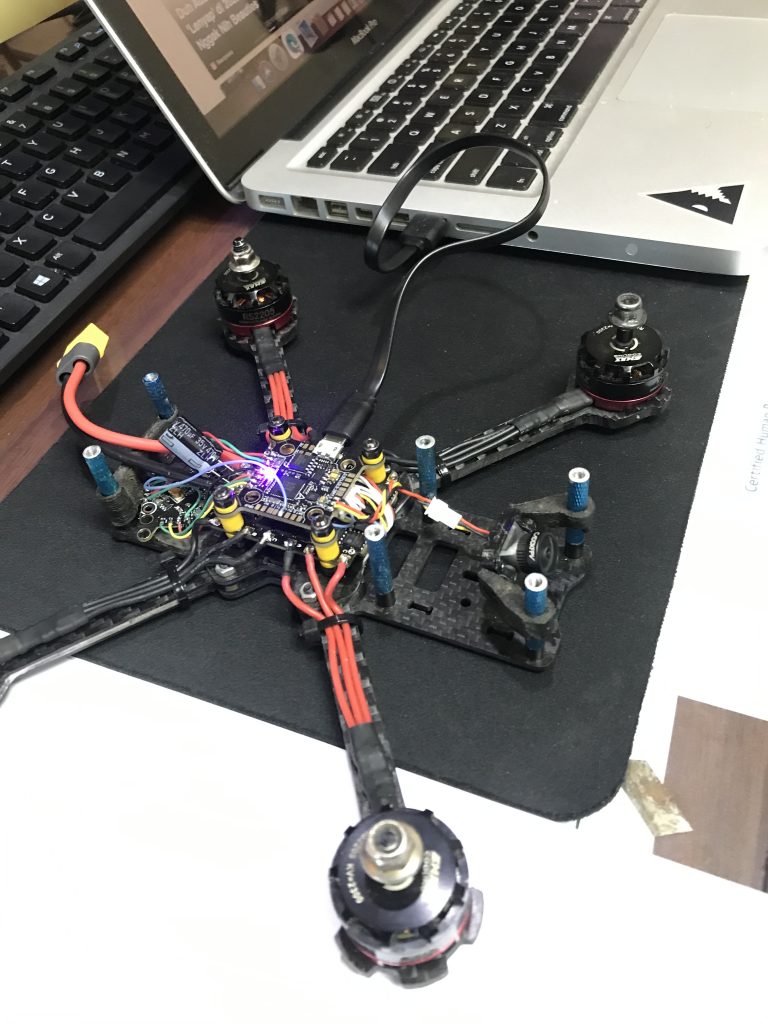
#1 Step (Installing 4 motors)
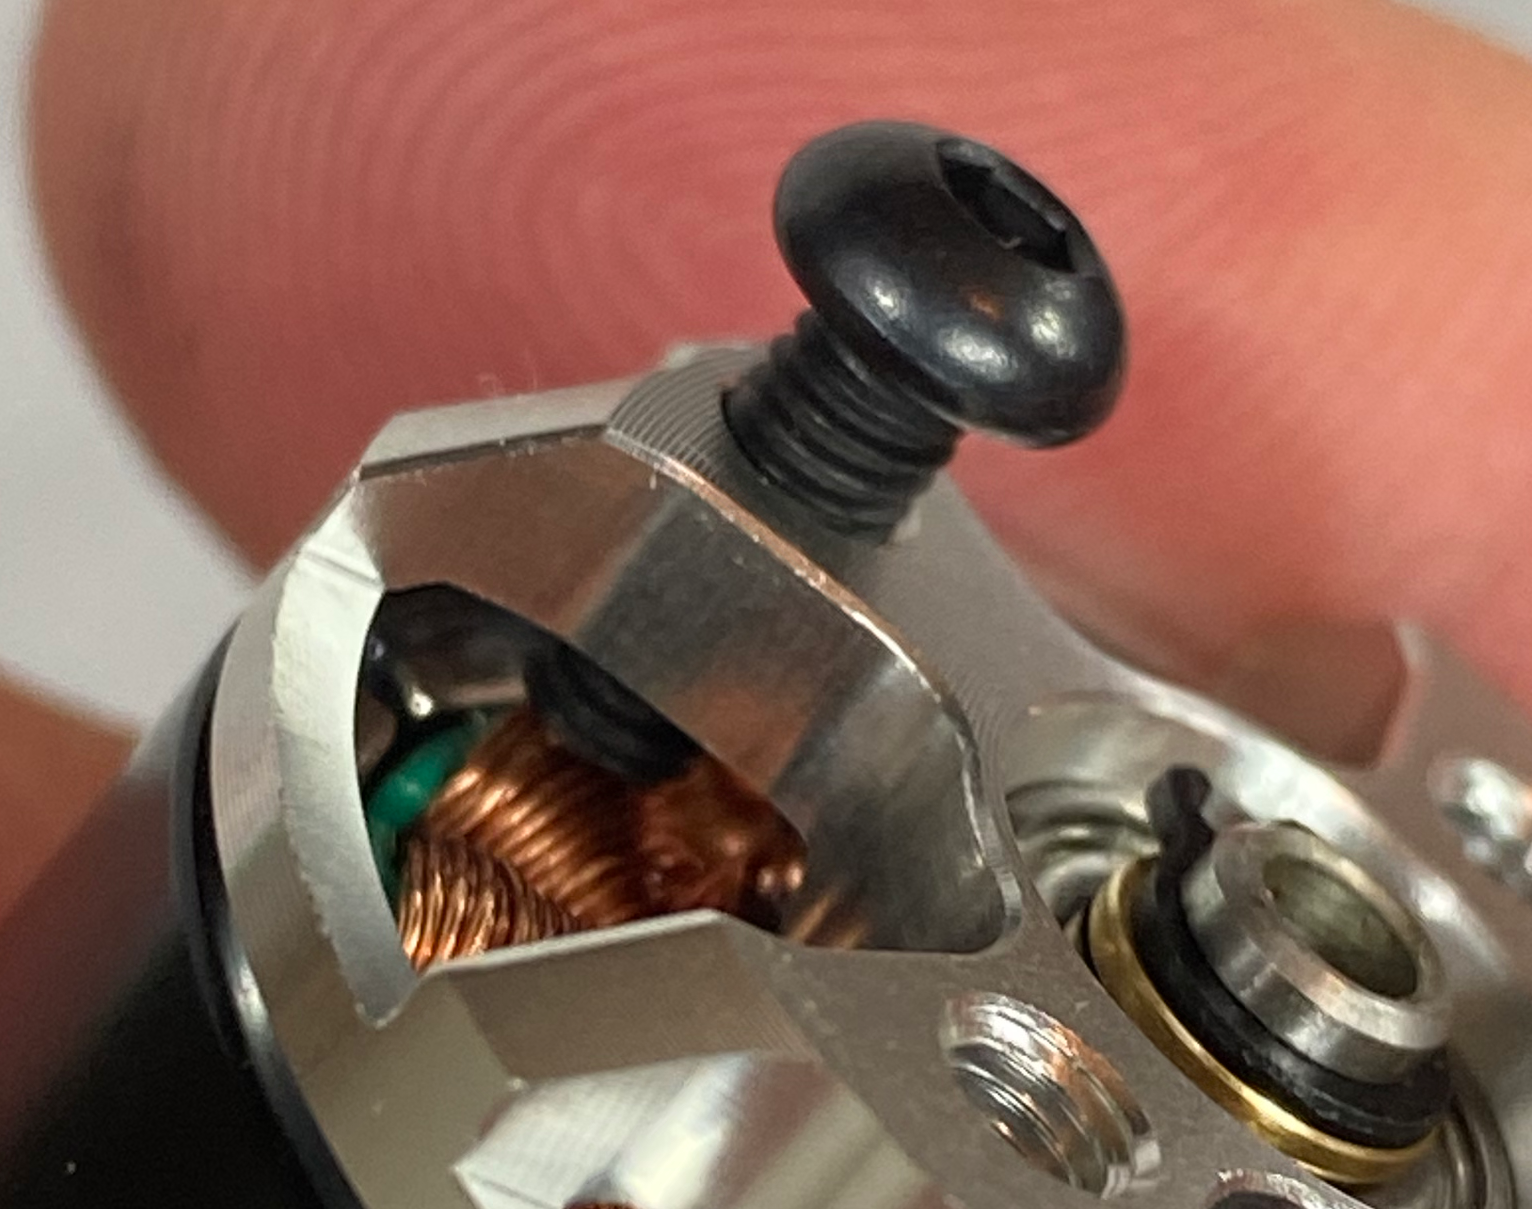
To assembly a quad, usually i started to install the motor first, make sure it has long enough wire to reach your ESC’s, please keep in mind that when installing the motors, your screw not touching the internal winding of the motors. (Carbon fiber frames are conductive material, so if your screw touching the internal winding, it will definitely can cause a short circuit)

on the left side, is a picture of a brushless DC motor, windings is a part that pointed by the red arrow, and in front of the winding is the permanent magnet.
On the right side, is an example of a screw touching the winding !!
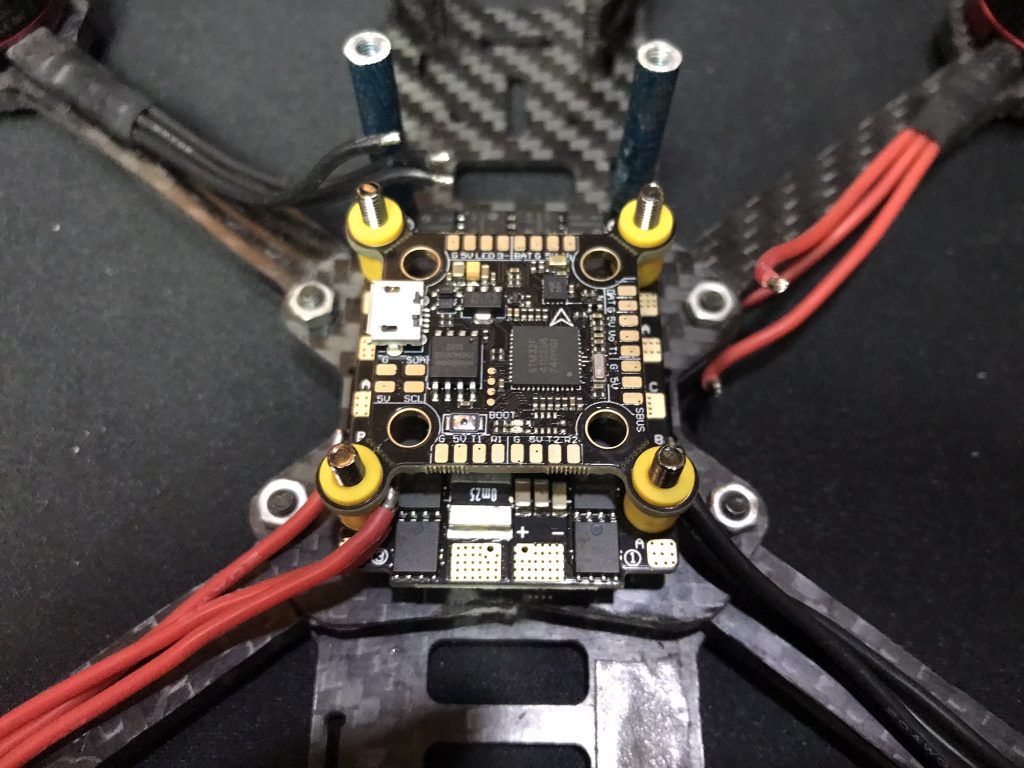

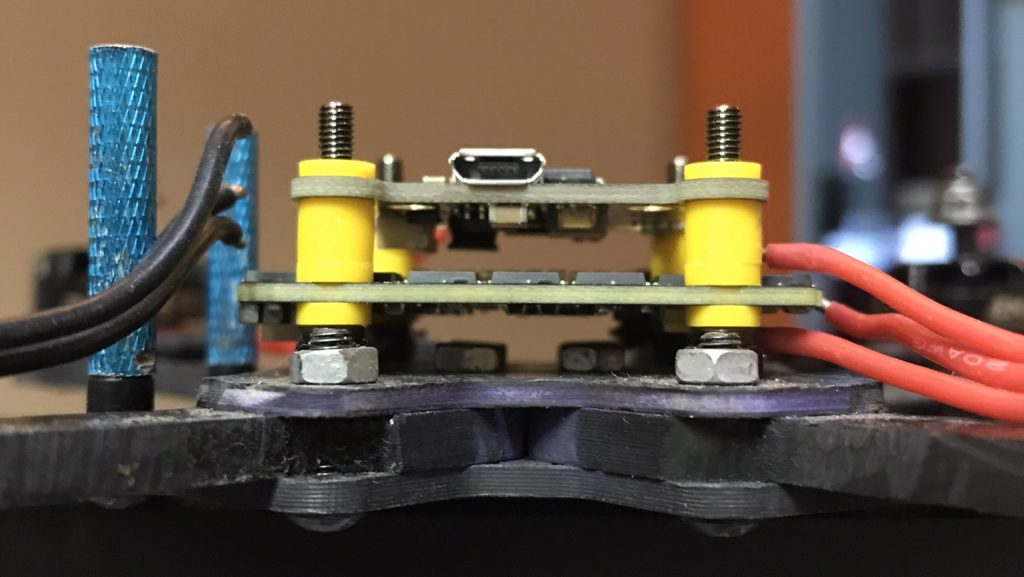
#2 Step (Installing Flight Controller + ESC)
Flight Controller & ESC I use in this project is T-Motor Velox Lite, it has pretty good processor (F411) and 45A BLHeli_S 4in1 ESC. more than enough for this project.
it has complete part on the packages, it contains:
- FC (of course :P)
- 4in1 ESC (of course :P)
- XT60 Plug and pigtail Cable
- Low ESR Capacitor
- Gummy soft mount for each board
- jst plug cable for connecting ESC to FC
- Manual book
there are two kind of rubby gummies included in the packages, i use the taller one for the flight controller and the lower one for the 4in1 ESC
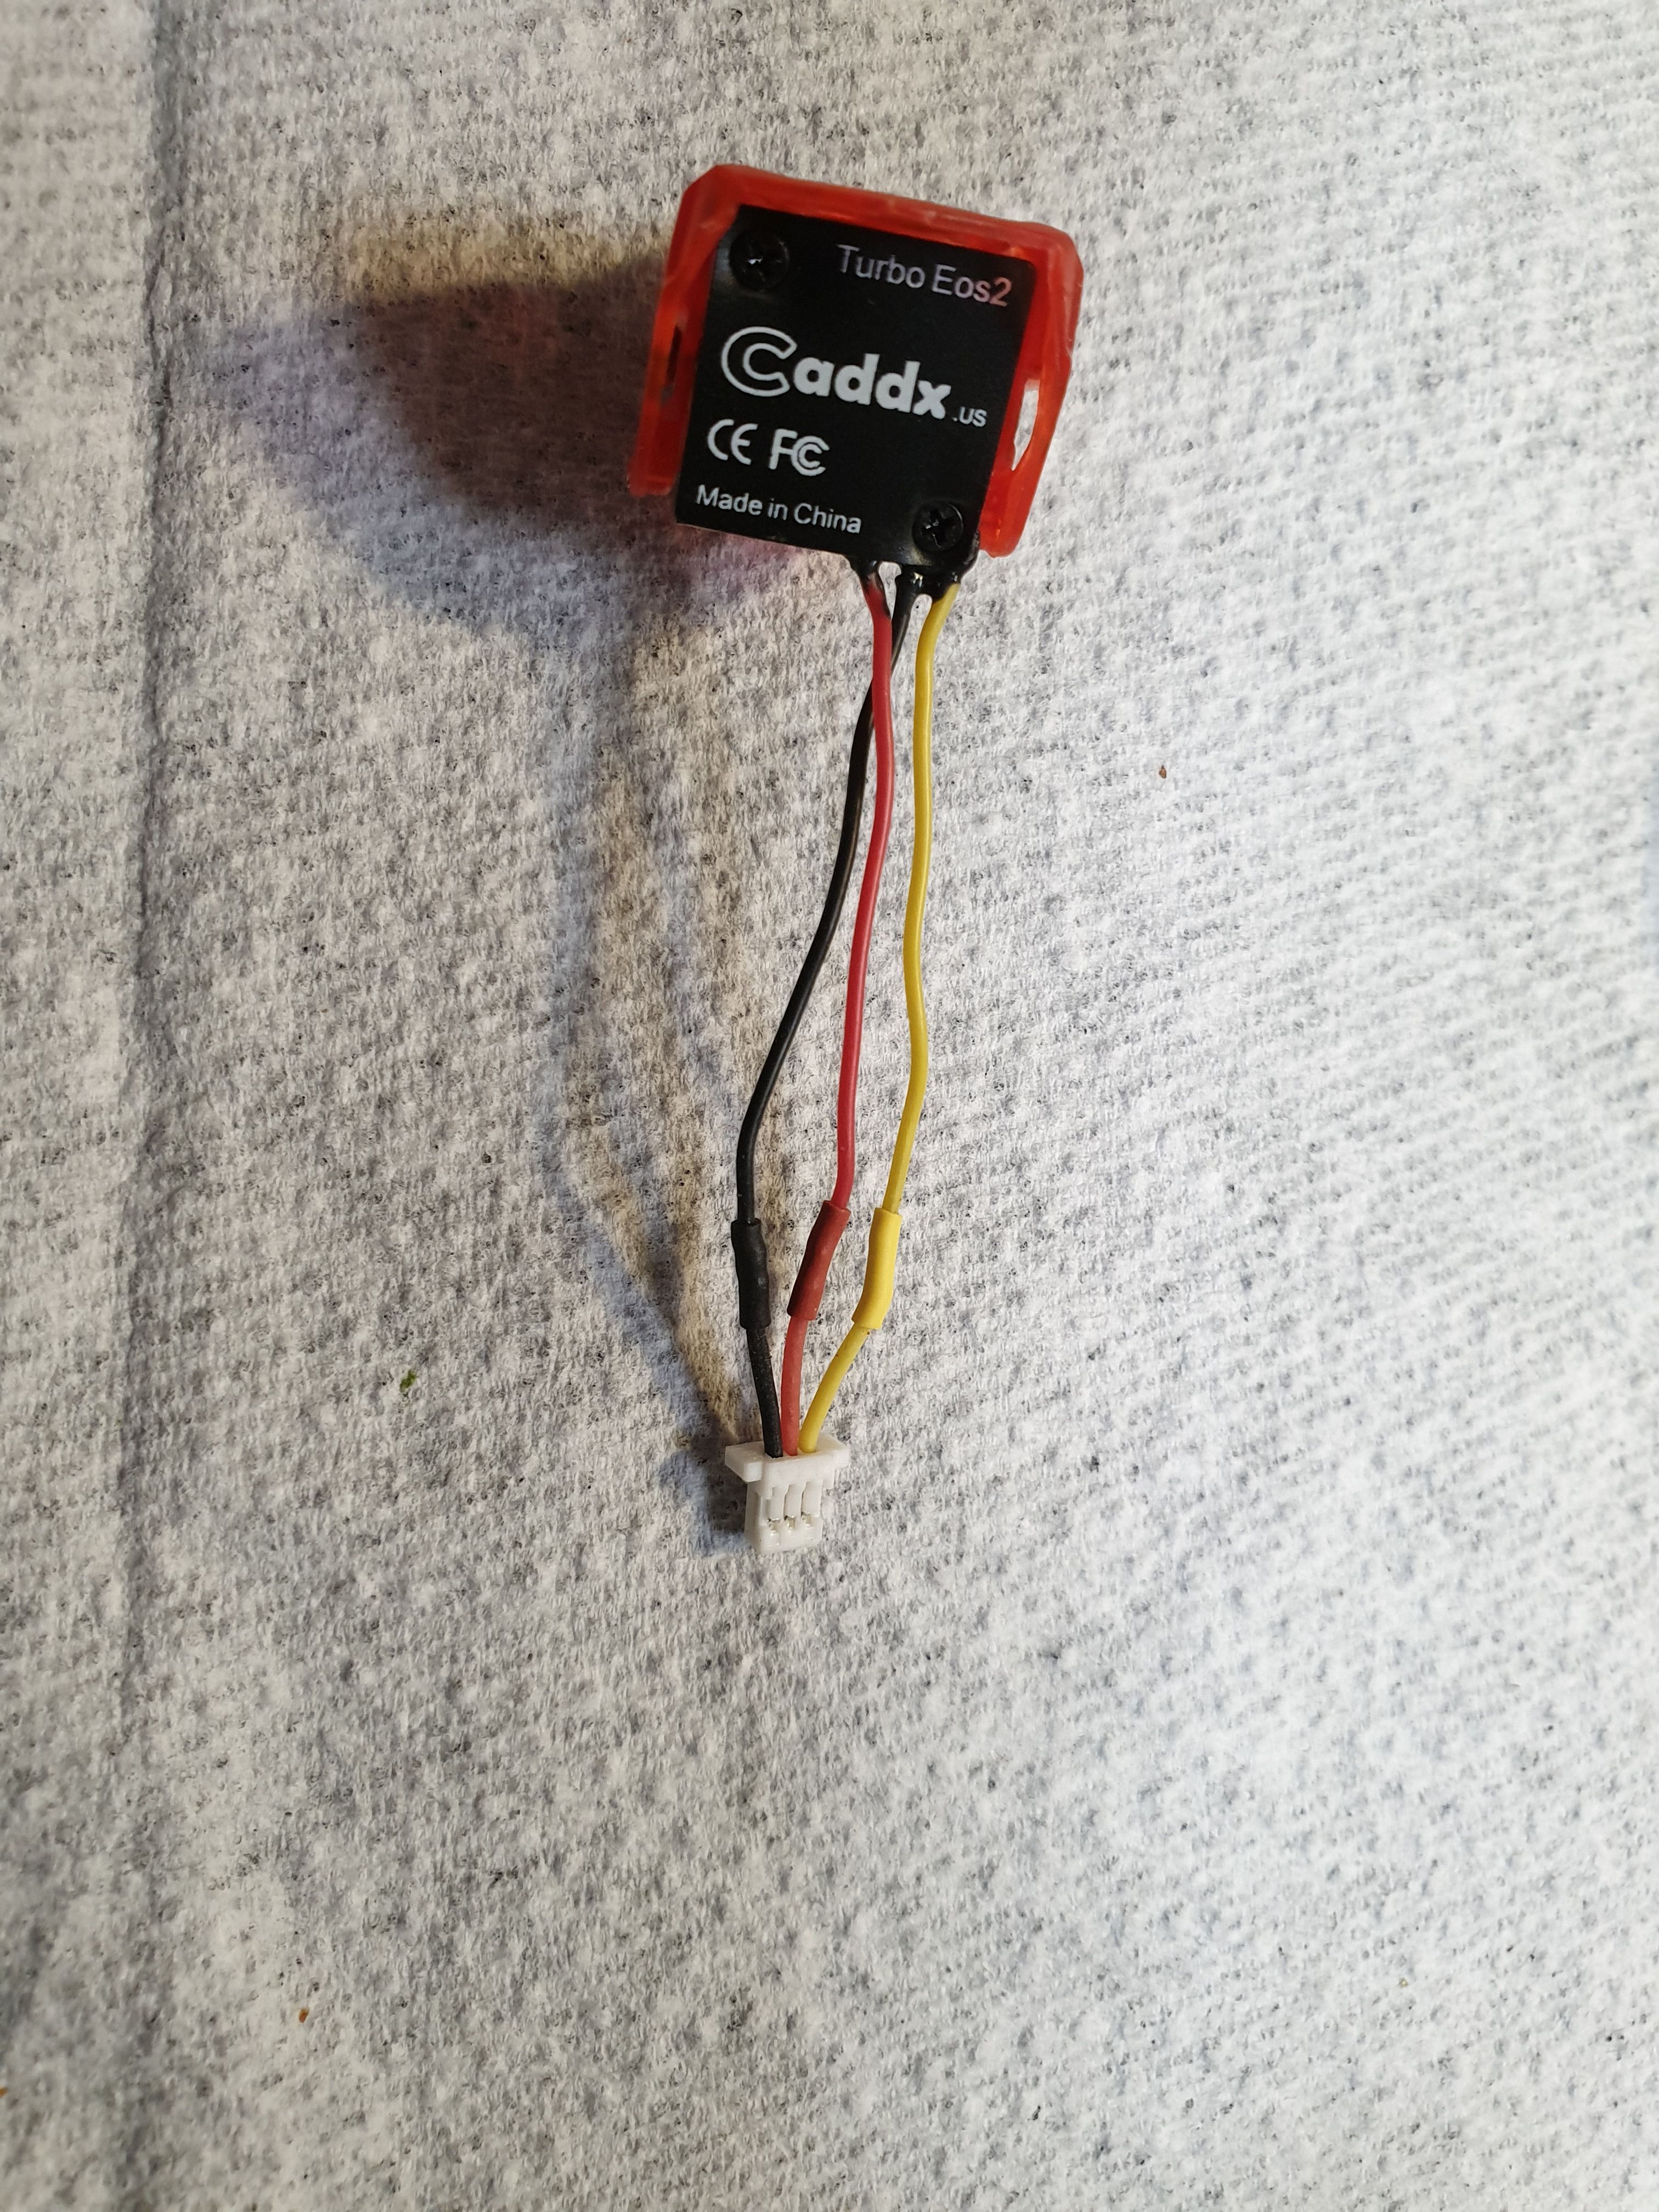
#3 Step (Installing Receiver & VTX)
After some consideration, I decided to choose 2 in 1 ELRS Receiver + VTX, due to cheaper option and ease of installation, the combo i used is, Happymodel Fyujon, here is the picture.
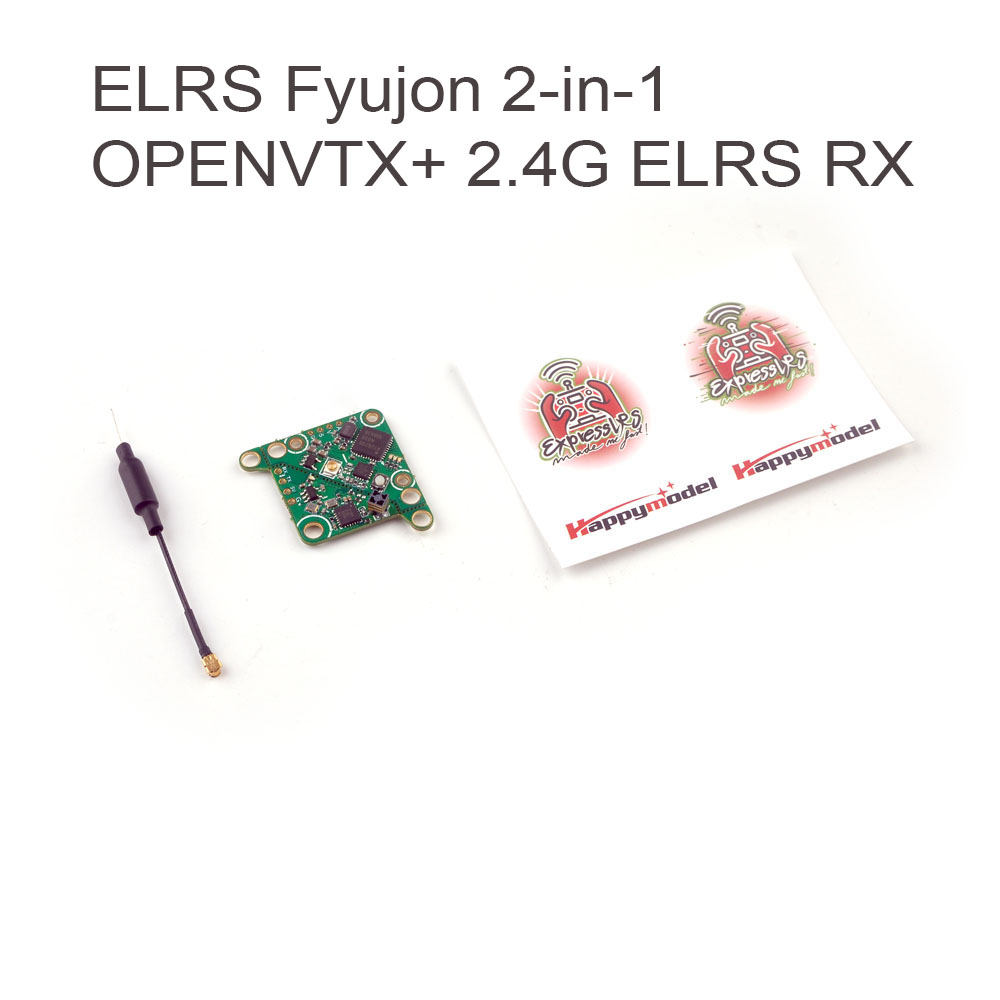
for Indonesia user, you can buy using this link or outside indonesia, you can use this link.
#4 Step (Setting up on Betaflight Configurator)
Setting your quad in Betaflight is pretty straight forward. before you configure your quad, there are some things to prepared:
- If you are using Windows PC, make sure that you already install a VCP Driver for Windows or STM32 Driver. For MacOSX, usually don’t need additional driver.
- Prepare a data enabled microUSB or USB Type-C, as some people doesn’t aware that some cables are used only for charging purpose.
- Download a Betaflight-Configurator by clicking here
No responses yet