I think everyone is agree that FPV is not a cheap hobby, to enjoy fpv experience we need:
- FPV Drone (2,5 inch – 7 inch)
- FPV Goggles/FPV Monitors
- Batteries (can be 2S-6S)
- Charger
- etc.
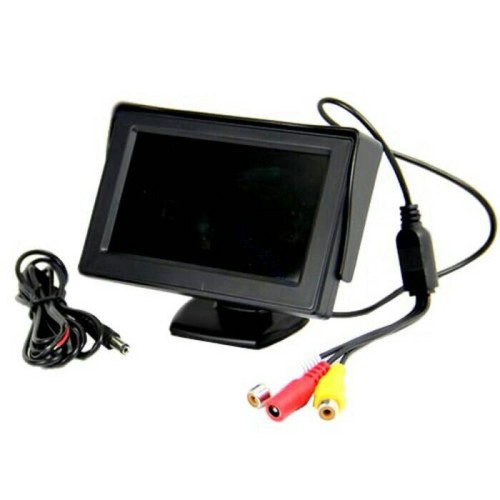
This time, i will show you how to make a cheap enough FPV Monitor. Things we need are:
- 4,3 inch or 5 inch monitor (depending how big you want to use)
can be bought here for Indonesia market - VRX Module with antennas (can be cheap AKK (here is the link) or Eachine Pro 58 (here is the link) or even top end receivers that you can found on the market)
- BEC (any volt to 9V/12V or step up from 7.4V (2S) to 9V/12V)
- Solder (and also soldering skills)
- Silicon wire/cable (30 AWG) would be enough
- switch if you needed
- patience 🙂
or if you’re outside Indonesia, you can check links below:
#1 Step
As standard automotive monitor like this, they often disable its “snowscreen” screen and replace it to a blank screen or blue screen if there is a weak or no video signal present. in FPV we dont need that, we need a “snowscreen” so that we can still see a picture even if the signal is low or disturbed.


To disable the bluescreen mode, just press a hidden menu for this monitor by pressing the menu button (3 key behind the monitor) this combination code to access the factory mode the combo Menu,+,-,-,+,+ or Menu -,+,+,-,- 🙂
#2 Step
Dissasemble your 4.3 inch monitor.
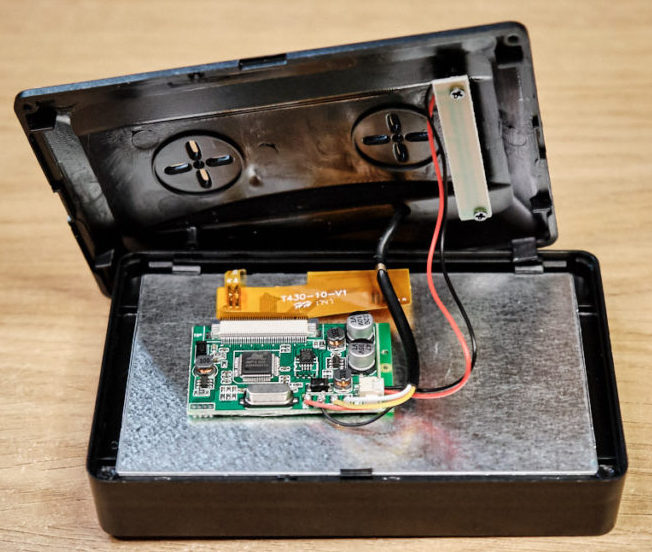
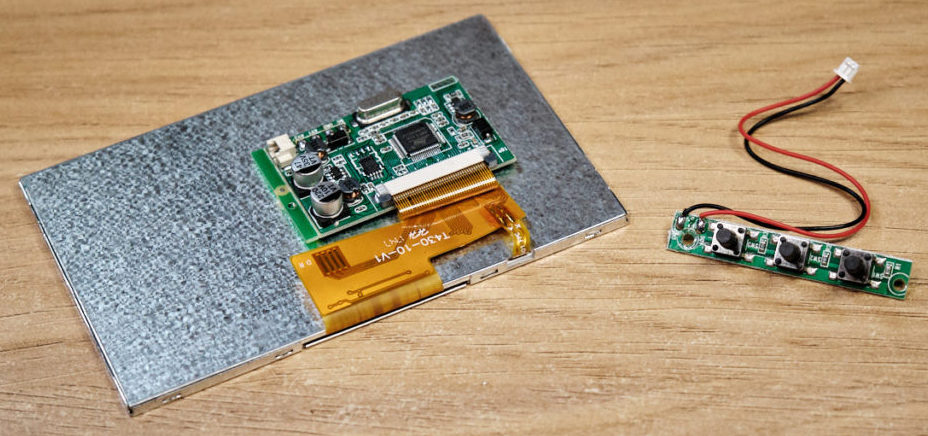
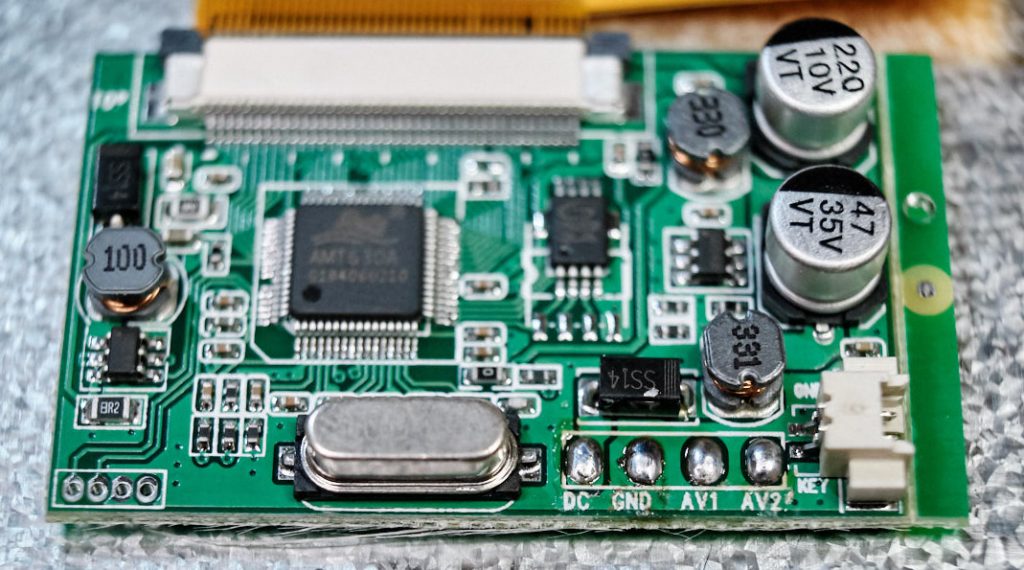
Since monitor we use is designed for automotive, it should be easy in handling voltages (i think it may took minimum 9V to 14V as maximum) (update, i can powered it up using 2S battery tho)
As you can see above, we need to:
- desolder the AV in cable and also Voltage in cable (as later we don’t need it, because we need to solder it directly to the receiver and PDB/BEC)
- unplug the lcd-adjustment keyboard (don’t trash it because we will need it somehow later 🙂 trust me)
#3 Step
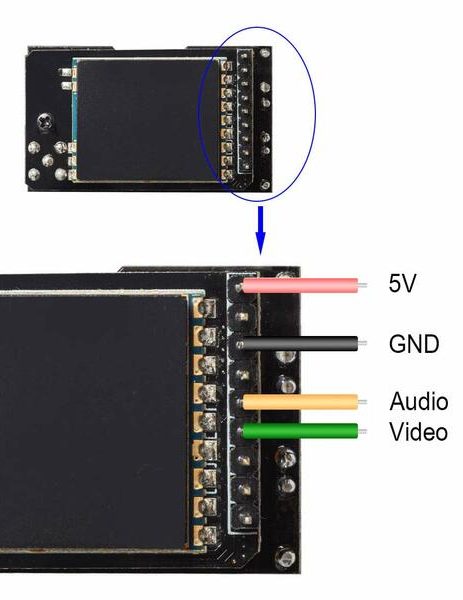
Prepare your VRX Module, and find the designated pins to be used later.
pin we need are:
- 5V (later will be connected using PDB/BEC)
- Gnd (Ground should be in a loop with other parts)
- Audio (if your VTX support audio)
- Video
As the module only took 5V, you need a BEC (Battery Eliminator Circuit) to power it up. For easily manage this, you may install a PDB which consist 5V BEC like this one (Matek PDB)
after you prepare all, to connect module to monitor, you need to solder:
- 5V pad on Module –> 5V pad on PDB
- GND pad on Module –> Gnd / (-) pad on PDB
- Video pad on Module —> Video pad on PDB

No responses yet